 Skip to content
Top Edible Plants to Grow in Your Kitchen
A productive kitchen is more than a place for cooking; it can be a living pantry. Imagine snipping fresh, aromatic
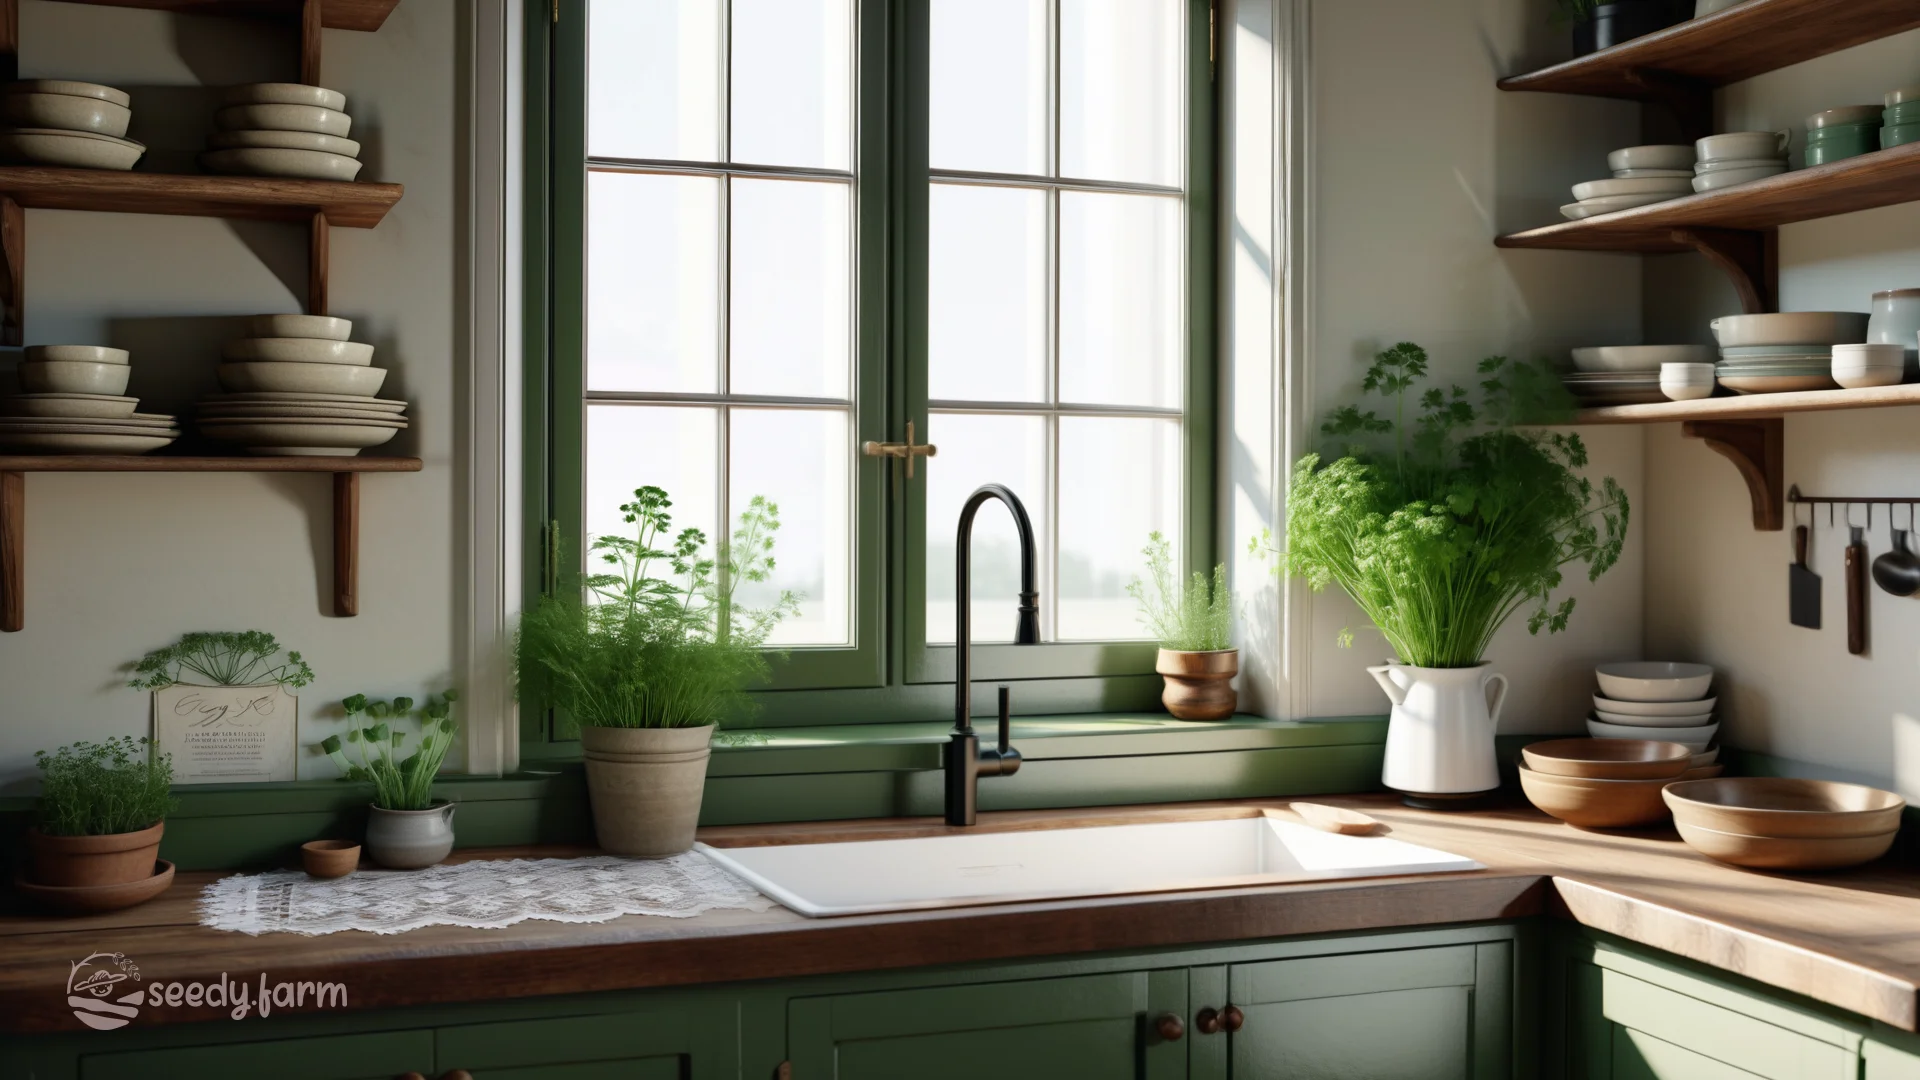
A productive kitchen is more than a place for cooking; it can be a living pantry. Imagine snipping fresh, aromatic basil for your sauce, tossing a salad with greens harvested moments before, or adding a burst of spicy microgreens to your plate. This is the tangible reward of cultivating edible plants indoors—a practice that connects you to your food, enhances your living space with vibrant life, and provides unparalleled freshness and flavor.
This guide moves beyond simple tips to explain the core principles of horticulture, empowering you to diagnose problems and cultivate a truly thriving indoor garden. We will cover plant selection, from foundational herbs to ambitious fruiting vegetables, and detail the essential techniques for preparation and maintenance. Let’s begin the rewarding work of growing a greener, more delicious kitchen.
I. Top Edible and Easy-to-Grow Kitchen Plants
1. Herbs: Essential for Culinary Use and Indoor Aroma
Herbs are the cornerstone of a kitchen garden, offering a high ratio of flavor and utility to the space they occupy. Success with herbs comes from understanding their individual needs and growth habits.
- *Basil (Ocimum basilicum): A heat-loving annual essential for many cuisines. It demands high light—at least 6-8 hours of direct sun or a strong grow light. Use a well-draining potting mix and water when the top inch of soil is dry. Pro Tip: Regularly pinch off the top set of leaves just above a leaf node. This defeats apical dominance*—the plant’s tendency to grow from its main tip—and encourages branching, resulting in a much bushier, more productive plant. Do not let it flower, as this signals the end of its life cycle and changes the leaves’ flavor.
- *Mint (Mentha species): A vigorous, spreading perennial. Varieties like spearmint and peppermint are incredibly easy to grow but must be contained. Its roots, called rhizomes, will aggressively colonize any available soil. Always plant mint in its own pot to prevent it from overrunning other plants. It tolerates lower light than basil but appreciates consistent moisture. Pro Tip:* Harvest stems by cutting them back to just above a leaf node to stimulate new, bushy growth from the base.
- *Parsley (Petroselinum crispum): Available in flat-leaf (Italian) and curly types, this biennial is rich in vitamins. It is more tolerant of moderate light than many herbs. Germination from seed can be slow; soaking seeds in warm water for 24 hours before planting can speed the process. Pro Tip:* Harvest the outer, older stalks first, leaving the central young growth to mature. This “cut-and-come-again” method ensures a long, continuous harvest from a single plant.
- *Cilantro/Coriander (Coriandrum sativum): A fast-growing, cool-season annual. Cilantro is notorious for bolting (flowering prematurely) in response to heat or stress, which ends leaf production. To maximize your harvest, provide consistent water, harvest leaves often, and plan on succession sowing*—planting a new small batch of seeds every 2-3 weeks.
- *Culantro (Eryngium foetidum): Often called the “no-bolt cilantro,” this herb offers a more intense cilantro flavor and is perfectly suited for a windowsill. It grows in a low-lying rosette and thrives in the heat that causes regular cilantro to flower. Pro Tip:* Harvest the outer, older leaves, allowing the center to continuously produce new growth. It’s a true “cut-and-come-again” powerhouse for any sunny window.
- *Shiso (Perilla frutescens): Known as Japanese basil or perilla, this herb offers a complex, unique flavor reminiscent of mint, cinnamon, and basil. Like basil, it’s an annual that loves light and responds well to regular harvesting. Its beautiful ruffled leaves (in green or reddish-purple) make it a stunning and edible addition. Pro Tip:* Pinch the growing tips regularly to prevent it from becoming leggy and to encourage a dense, compact plant perfect for a windowsill pot.
- *Vietnamese Coriander / Rau Ram (Persicaria odorata): Another excellent cilantro substitute that will not bolt. This tender perennial has a trailing habit, making it a great “spiller” plant that will cascade over the edge of its pot. The flavor is cilantro-like with distinct spicy and lemony notes. It thrives in consistently moist soil. Pro Tip:* This herb is incredibly easy to propagate. Just snip a 4-inch stem, place it in a glass of water, and it will root within a week or two, giving you endless new plants.
- Other Essential Options: Thyme (Thymus vulgaris) and Rosemary (Salvia rosmarinus) are Mediterranean herbs that thrive in high light and demand gritty, well-draining soil; they are highly susceptible to root rot from overwatering. Oregano (Origanum vulgare) is a hardy, spreading herb that benefits from frequent trimming. Group these herbs together, as they share similar light and watering requirements.

2. Leafy Greens: Nutrient-Packed Options for Fresh Salads and Garnishes
Growing your own leafy greens provides immediate access to fresh, nutrient-dense produce. The key to success is choosing appropriate varieties and using the cut-and-come-again harvesting method.
- *Lettuce (Lactuca sativa):* Focus on loose-leaf varieties like ‘Black Seed Simpson’ or ‘Oakleaf’ rather than heading types (like iceberg), as they are far better suited for continuous harvesting. Sow seeds densely in a rectangular planter. You can begin harvesting tender baby leaves in just a few weeks by trimming them with scissors about an inch above the soil line, leaving the base to regrow for several more cuttings.
- *Arugula (Eruca sativa):* Known for its peppery flavor, arugula grows incredibly fast in cooler conditions. Harvest outer leaves when they are young and tender; the flavor becomes much more intense and bitter as the leaves mature. Like cilantro, it is prone to bolting in heat, so harvest it regularly.
- *Spinach (Spinacia oleracea):* A cool-weather crop packed with nutrients. Choose “slow-bolt” varieties for indoor growing to extend the harvest period. Harvest by picking the outer leaves, allowing the inner leaves to continue growing. High temperatures and long daylight hours will trigger flowering and stop leaf production.
- *Tatsoi (Brassica rapa subsp. narinosa): One of the most space-efficient greens you can grow. Tatsoi forms a beautiful, flat rosette of dark green, spoon-shaped leaves that grows close to the soil. It is extremely fast-growing with a mild, sweet flavor excellent for salads or light cooking. Pro Tip:* Its compact, low-growing habit makes it ideal for shallow, rectangular windowsill planters. Harvest outer leaves for a long, continuous supply.
- *Kale (Brassica oleracea, Acephala Group):* A highly durable and productive green. Dwarf varieties like ‘Dwarf Blue Curled’ are well-suited for containers. Like other greens, harvesting the lower, outer leaves encourages the plant to produce new growth from the central crown.
- *Swiss Chard (Beta vulgaris subsp. cicla):* One of the most productive and visually appealing greens for containers. Varieties like ‘Bright Lights’ or ‘Fordhook Giant’ offer colorful stems and a long harvest season. Use the same cut-and-come-again method as for kale and spinach. The stems are also edible and can be cooked like celery.

### 3. Microgreens: Nutrient-Dense and Quick-Growing Options for a Burst of Flavor
Microgreens are not sprouts; they are young vegetable greens harvested just after the first true leaves have developed. They offer a concentrated burst of flavor and nutrients and are one of the fastest and most space-efficient crops you can grow.
a. The Microgreen Method
- The Medium: Use a sterile seed-starting mix or a coconut coir mat in a shallow tray with drainage holes. A depth of 1-2 inches is all you need.
- Sowing: Scatter seeds densely over the surface of the moist medium. Gently press them into the surface, but do not bury them deeply. Cover with a second tray to ensure darkness for the first 2-3 days to encourage germination.
- Growth and Harvest: Once seeds sprout, remove the cover and place the tray under a bright grow light or in a sunny window. Water gently from the bottom or with a fine mist. Harvest in 1-3 weeks (depending on the variety) by snipping the stems just above the soil line with clean scissors.
b. Top Microgreen Varieties for the Kitchen
| Microgreen | Flavor Profile | Approx. Time to Harvest | Mentor’s Note |
|---|---|---|---|
| Radish (e.g., ‘Daikon’) | Spicy, peppery | 5-10 days | One of the fastest and easiest to grow. Excellent for beginners. |
| Broccoli | Mild, fresh brassica flavor | 7-14 days | Prized for its high concentration of sulforaphane, a beneficial compound. |
| Pea Shoots | Sweet, fresh pea flavor | 8-14 days | Soak the larger seeds for 8-12 hours before sowing to improve germination. |
| Sunflower (black oil) | Nutty, crunchy | 7-12 days | Seed hulls can cling to leaves; gently brush them off after they sprout to prevent mold. |
| Mustard (e.g., ‘Garnet Giant’) | Pungent, spicy | 6-12 days | A little goes a long way. Adds a significant flavor kick. |
### 4. Other Vegetables: Compact and Productive Choices for Kitchen Gardens
Growing fruiting vegetables like tomatoes or peppers indoors is an advanced project that requires more than a sunny window. Success is achievable but depends on meeting their high-energy demands for light, nutrients, and pollination.
- *Cherry Tomatoes (Solanum lycopersicum var. cerasiforme): Choose determinate or dwarf* varieties like ‘Tiny Tim’ or ‘Red Robin.’ Determinate means the plant grows to a compact, predetermined size and produces its fruit in a concentrated period. They still require a minimum of 8-10 hours of intense, direct light, which for most kitchens means a powerful supplemental grow light. Provide support with a small cage.
- *Scallions/Green Onions (Allium fistulosum): Growing scallions from the root ends of store-bought bunches is a popular project. While this is a fun way to demonstrate vegetative regeneration and will yield a few cuttings, it is not a method for a truly sustainable harvest, as the plant is drawing on stored energy and will weaken over time. For a robust, continuous supply, grow bunching onions from seed.* Sow seeds in a deep pot and you can harvest by snipping the green tops for months.
- *Mini Sweet Peppers (Capsicum annuum):* Like tomatoes, peppers are light and heat-loving plants. Compact, ornamental varieties like ‘Tangerine Dream’ or ‘Mohawk’ are best for containers. They require the same high-intensity light as tomatoes and will not produce fruit without it.
- *Bush Beans (Phaseolus vulgaris):* Bush beans are a more forgiving choice. They grow quickly, do not require trellising, and fix their own nitrogen. Choose compact varieties like ‘Mascotte.’ They still need at least 6 hours of direct sun or a good grow light but are less demanding than tomatoes or peppers. Sow seeds every 3-4 weeks for a continuous supply.
Mentor’s Corner: The Pollination Problem
Flowers are only the first step to fruit. Outdoors, wind and insects handle pollination. Indoors, that job is yours. For tomatoes, peppers, and eggplants, you must become the pollinator. Once flowers open, gently shake the plant daily to release pollen, or use an electric toothbrush or a small paintbrush to vibrate the flower clusters and transfer pollen from the anther to the stigma. Without this step, you will get flowers but no fruit.
## II. Preparation for Your Kitchen Garden
A successful garden is built on a strong foundation. Proper preparation prevents most common problems and sets your plants up for healthy, productive life.
1. Optimal Location: Maximizing Growth in Limited Spaces
- Sunlight is energy. A south-facing window is the prime location, offering the longest duration and highest intensity of light. East-facing windows provide cool morning sun, while west-facing windows offer hot afternoon sun. North-facing windows are unsuitable for most edibles.
- Observe the light. Before placing any plants, watch how the light moves across the space throughout the day. A spot that seems bright may only get 30 minutes of direct sun. Most edibles need 6+ hours of direct sun to thrive. If you don’t have this, you must use a grow light.
- Air circulation is vital. Good airflow helps strengthen stems and prevents fungal diseases like powdery mildew. A stuffy, stagnant corner is an invitation for problems. A small, oscillating fan set on low can work wonders, but avoid placing plants directly in the path of a heating or AC vent.
- Consider proximity and temperature. Keep plants convenient for harvesting but away from the direct heat of ovens or stovetops. Most plants prefer stable temperatures between 65-75°F (18-24°C).
2. Essential Supplies: Selecting Containers and Soil
- Containers must have drainage. This is non-negotiable. Without drainage holes, water saturates the soil, displacing oxygen and creating an anaerobic environment that literally drowns and rots roots. Pot size matters: a 6-8 inch pot is fine for most herbs, but a tomato plant will need a 5-gallon container (or larger) to reach its potential.
- The right “soil” is not soil. Never use soil from your outdoor garden in a container. It is too dense, will compact with watering, and often contains pests and disease pathogens. You need a sterile, soilless potting medium.
- Create a quality potting mix. A good all-purpose mix for edibles consists of three components: - Base (50-60%): Peat moss or coconut coir for moisture retention. - Aeration (20-30%): Perlite or pumice to create air pockets for roots and ensure excellent drainage. - Nutrients (20-30%): High-quality compost or worm castings to provide a slow-release source of organic matter and microbial life.
3. Lighting: Ensuring Adequate Light for Healthy Plants
- Natural light is best, but often insufficient. Even a bright south-facing window in winter provides far less light energy than in summer. If your plants become etiolated—pale, stretched, and “leggy”—they are desperately asking for more light.
- Invest in a grow light. For serious indoor food production, a grow light is essential, not optional. Choose full-spectrum LED lights, as they are energy-efficient and provide all the light wavelengths plants need for photosynthesis.
- Position lights correctly. The light must be close to the plants to be effective. For most LED fixtures, this is 6-12 inches above the plant canopy. Light intensity drops off dramatically with distance.
- Provide a consistent photoperiod. Plants need a daily cycle of light and dark. Use an inexpensive outlet timer to provide 14-16 hours of light per day for your plants, ensuring they get the energy they need for vigorous growth.
4. Watering and Feeding: Maintaining Plant Health
- Water deeply, not daily. Check the soil with your finger. When the top 1-2 inches are dry, it’s time to water. Add water slowly until it runs freely from the drainage holes. This ensures the entire root zone is hydrated and flushes out excess mineral salts. Discard any water that collects in the saucer.
- Fertilizing is necessary. Nutrients in a container are finite and wash out with watering. Plan to feed your plants. Use a balanced, all-purpose organic liquid fertilizer, such as one derived from fish emulsion or kelp.
- Feed according to growth. Begin fertilizing at half-strength about a month after potting. During periods of active growth (spring/summer), feed every 2-4 weeks. Reduce feeding in winter when growth slows. Fruiting plants like tomatoes are heavy feeders and will require more consistent fertilization once they begin to set fruit.
5. Planning Your Garden: Thoughtful Plant Selection and Arrangement
- Grow what you love to eat. The most successful kitchen gardens are those that are used often. Start with 2-3 herbs or greens you use constantly in your cooking.
- Group plants by need. Arrange your garden in zones. Place high-light, drought-tolerant Mediterranean herbs like rosemary and thyme in your sunniest, warmest spot. Group moisture-loving plants like mint and parsley together. This makes watering and care far more efficient.
- Plan for succession. For fast-maturing crops like microgreens, radishes, or cilantro, get in the habit of starting a new small batch every few weeks. This ensures you have a continuous harvest rather than a single glut of produce.
- Start small and expand. It is better to have three thriving plants than a dozen struggling ones. Master the needs of a few plants first, then use that confidence and experience to expand your indoor garden.
III. Tips for a Thriving Kitchen Garden
Consistent, observant care is what separates a struggling plant from a thriving one. These practices will help you maintain a healthy, productive indoor garden.
1. Sunlight Exposure: Maximizing Light for Your Plants
- Rotate plants 90 degrees every few days. Plants exhibit phototropism, meaning they bend and grow towards their light source. Regular rotation ensures all sides get light, promoting strong, even growth.
- Keep windows clean. A layer of dust or grime on window glass can significantly reduce the amount of light reaching your plants.
- Use reflectors strategically. A simple piece of white foam board or aluminum foil placed behind plants can bounce light back onto them, brightening shady areas and increasing the total light energy they receive.

2. Watering Techniques: Ensuring Proper Hydration
- The finger test is your best tool. Do not water on a schedule. Water based on the plant’s needs. Stick your finger 1-2 inches into the soil. If it’s dry, water. If it’s moist, wait. This single habit prevents both over- and under-watering.
- Use room-temperature water. Extremely cold water can shock the roots of a plant. Let tap water sit out for a few hours to allow chlorine to dissipate and the water to reach room temperature.
- Water the soil, not the leaves. Applying water directly to the soil surface keeps foliage dry, which is the single best way to prevent common fungal diseases like powdery mildew. A watering can with a long, narrow spout is perfect for this.
3. Organic Fertilizers: Boosting Plant Growth Naturally
- Understand N-P-K. All fertilizers list three numbers representing Nitrogen (N), Phosphorus (P), and Potassium (K). In simple terms: N is for leafy green growth, P is for roots and flowers, and K is for overall plant health. For herbs and greens, a balanced or high-N fertilizer is best. For tomatoes or peppers, you will want a fertilizer with higher P and K once they begin to flower.
- Incorporate slow-release nutrients. Mixing worm castings or a granular organic fertilizer into your potting mix at planting time provides a foundational level of nutrition that releases slowly over several months.
- Supplement with liquid feeds. Use a diluted liquid organic fertilizer every few weeks during the growing season to provide an easily accessible boost of nutrients for actively growing plants. Think of this as a regular “snack” between their “main meals” from the slow-release granules.
4. Pest Management: Keeping Pests at Bay
The key to pest control indoors is Integrated Pest Management (IPM)—a proactive approach focused on prevention and early detection.
- Inspect your plants regularly. The best time is when you water. Look at the undersides of leaves, at the stems, and at the soil surface. Catching one or two pests early is easy; dealing with a full-blown infestation is a battle.
- Isolate new plants. Keep any new plant you bring home separate from your existing garden for at least two weeks to ensure it isn’t harboring any hidden pests.
- Use yellow sticky traps. These are not a cure, but they are an excellent monitoring tool. They will catch adult flying pests like fungus gnats and whiteflies, alerting you to their presence before they get out of control.
Common Indoor Pests and Solutions
| Symptom | Likely Pest | Organic Solution |
|---|---|---|
| Tiny black flies hovering around the soil surface. | Fungus Gnats | The adults are annoying; the larvae in the soil eat roots. Allow soil to dry out completely between waterings. Bottom-water to keep the soil surface dry. A layer of sand on the soil can also deter them. |
| Fine webbing on plants, especially at leaf joints. Tiny specks on undersides of leaves. Stippled, yellowing leaves. | Spider Mites | Isolate the plant immediately. They thrive in hot, dry conditions. Increase humidity and wipe down leaves with a damp cloth. For infestations, use an insecticidal soap or horticultural oil spray, ensuring complete coverage. |
| Clusters of small, soft-bodied insects (green, black, or white) on new growth or stems. Sticky “honeydew” on leaves. | Aphids | A strong jet of water can dislodge many of them. Wipe them off by hand. For larger outbreaks, treat with insecticidal soap or neem oil. |
### 5. Regular Maintenance: Keeping Your Garden Healthy
- Prune for health and productivity. Regularly remove any yellowing, dead, or diseased leaves. This not only improves the plant’s appearance but also removes potential hiding spots for pests and entry points for disease. For herbs, regular trimming (harvesting) is the best form of pruning.
- Keep it clean. A clean growing area is a healthy growing area. Wipe up spilled water, remove fallen leaves from the soil surface, and periodically wipe down pots and shelves to reduce the risk of pests and disease.
- Monitor for early warning signs. Learn to “read” your plants. Are they pale? Likely a nutrient or light deficiency. Are they wilting even when the soil is moist? Could be a sign of root rot. Early diagnosis is key to successful treatment.
6. Harvesting and Propagation: Maximizing Your Garden’s Potential
- Harvest often. For herbs and leafy greens, regular harvesting is a signal to the plant to produce more. A good rule of thumb is to never remove more than one-third of the plant’s total foliage at one time.
Mentor’s Corner: The Truth About Kitchen Scrap Gardening
Regrowing vegetables like lettuce hearts, celery bases, or green onion bottoms in a glass of water is a common and fun project. It’s a wonderful way to teach children about plant biology. However, it is important to understand what is happening: the plant is using stored energy to push out a small amount of new growth. It is not a sustainable method for producing food. The resulting growth will be smaller and less vigorous with each cutting. For a reliable, long-term harvest, always start with seeds or healthy young plants.
- Propagate with purpose. You can easily multiply many herbs like basil, mint, and rosemary through stem cuttings. Snip a 4-inch piece of healthy, non-flowering stem. Remove the lower leaves and place the stem in a glass of water. Once roots develop, plant it in a pot with fresh potting mix. This is a reliable way to create new plants from your favorites.
Comments (0)
No comments yet. Be the first to share your thoughts.