 Skip to content
Grow Komatsuna (Japanese Mustard Spinach) for a Fast, Year-Round Harvest
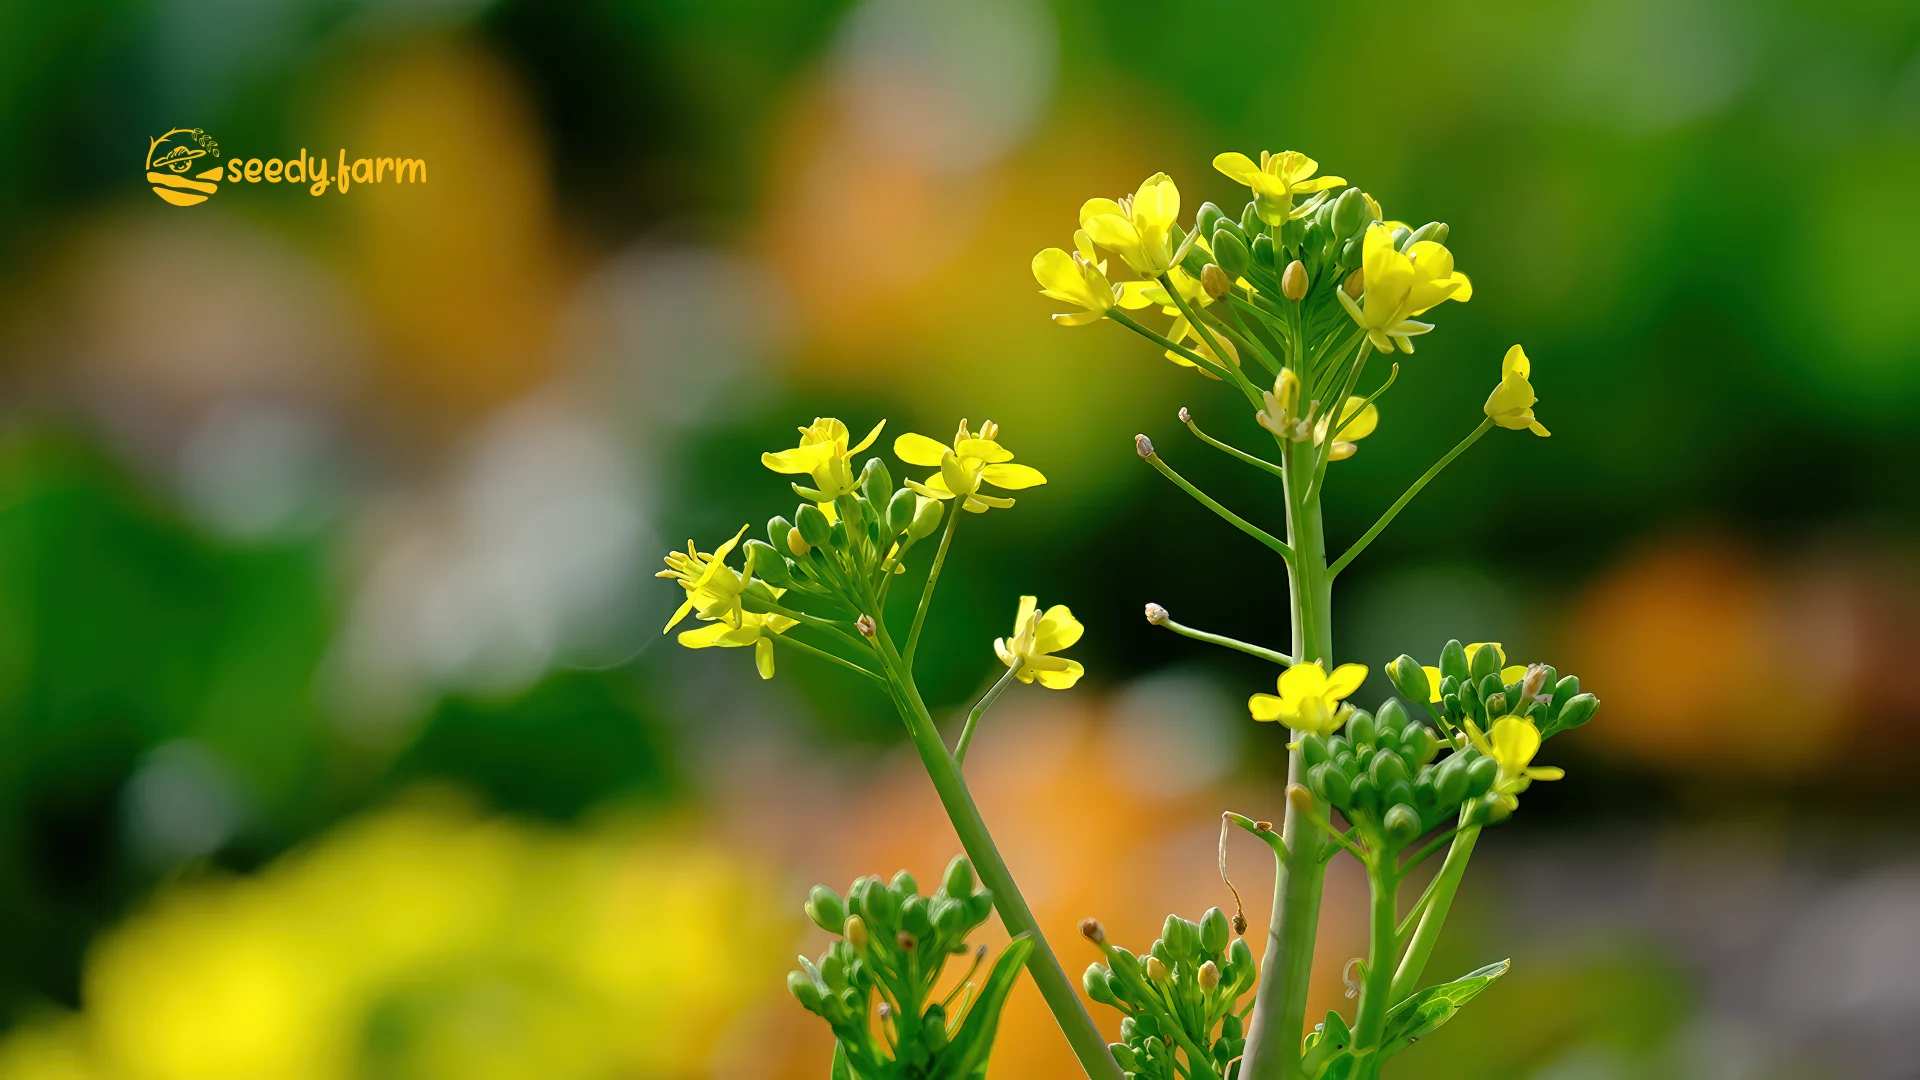
Komatsuna, known botanically as Brassica rapa var. perviridis or B.r. var. komatsuna, is a remarkably versatile and hardy leafy green from the same family as…
I. Komatsuna Essentials: Understanding the Plant
1. Introduction to Komatsuna: The Underrated Super Green
a. What is Komatsuna?
Komatsuna, known botanically as Brassica rapa var. perviridis or B.r. var. komatsuna, is a remarkably versatile and hardy leafy green from the same family as the turnip. It is often referred to as Japanese Mustard Spinach, though it is not a true spinach. In her definitive book on the subject, Oriental Vegetables, horticulturalist Joy Larkcom states she is tempted to give komatsuna the ‘most underrated vegetable award’. For most gardeners, this is an undiscovered gem waiting to be planted.
b. Origins and History
This green has a rich history, having been cultivated in Japan since at least the 18th century. Its name is a direct link to its heritage, derived from the Komatsu-gawa River area in Tokyo where it was famously grown. Botanical evidence suggests that komatsuna was originally developed from Pak Choi, selectively bred over generations to become the distinct and resilient vegetable it is today.
c. Why Grow Komatsuna? Key Benefits
Komatsuna earns its place in any garden through its exceptional resilience. It is a biennial plant that demonstrates incredible hardiness, showing tolerance for cold, heat, and even periods of drought. One of its greatest assets is its speed, maturing in as little as 40 days, which allows for multiple harvests in a single year. This adaptability means it can be sown and grown year-round in many climates. Furthermore, komatsuna possesses a unique quality where cold temperatures and frost do not harm it but instead improve its flavor, converting starches into sugars and making the leaves taste noticeably sweeter.
### 2. Komatsuna Varieties and Hybrids
a. Traditional and Common Varieties
While many types of komatsuna exist, several have become standard for their reliability. Summerfest is a popular choice specifically bred for warm season planting, though it retains a good degree of winter hardiness. Torasan is another widely available varietal. Japanese plant breeders have also developed specific cultivars for different growing seasons, such as ‘Haru no Senbatsu’ for early planting and ‘Inamura’ for mid-to-late season cultivation.
b. Modern Hybrids
The genetic versatility of komatsuna has made it an excellent parent for creating new and interesting hybrids. A popular red-leafed hybrid was developed specifically for the vibrant color it adds to baby greens and salad mixes. Other notable crosses include:
- Misome: A unique hybrid created by crossing komatsuna with tatsoi.
- Senposai: A cross that combines the leafy nature of komatsuna with the substance of a standard head cabbage.
- Green Boy: A variety reported to be a cross between komatsuna and a green-stemmed pak choi.
3. Culinary Profile and Nutritional Value
a. Flavor and Texture
The flavor profile of komatsuna is best described as a pleasant balance between a mild mustard green and a sweet cabbage. It is notably milder and more tender than its relatives mizuna and pak choi. This adaptable taste and texture profile allows it to be used in a wide variety of culinary applications, both raw and cooked.
b. How to Use Komatsuna in the Kitchen
Komatsuna can be harvested and eaten at any stage of its growth. The young, tender leaves are excellent when used raw, mixed into salads with other greens to add a subtle, crisp bite. As the leaves mature, they become ideal for cooking. They can be used in stir-fries, steamed, or lightly boiled, holding their texture well. A simple rule is that any recipe calling for pak choi can be made with komatsuna. In Japan, it is also a common ingredient in soups and is frequently pickled for preservation.
c. Nutritional Highlights
Komatsuna is a nutrient-dense green. It is an excellent source of calcium as well as Vitamins A and C. Notably, it also contains a higher concentration of iron than spinach, making it a valuable addition to any diet.
II. A Complete Guide to Komatsuna Cultivation
1. Sowing Schedule and Timing
Komatsuna’s flexibility allows it to be grown almost year-round. The ideal soil temperature for seed germination is between 20-25℃, with optimal growth occurring when air temperatures are between 15-25℃. You can sow seeds from early spring (February/March) all the way through late autumn (October/November). For beginners, an autumn sowing from September to November is highly recommended. This is because the cooler weather significantly reduces the number of active pests, making for an easier and more successful first crop. The time from sowing to harvest shifts with the seasons: expect about 25-30 days in summer, 30-40 days in spring, and a slower 50-70 days in autumn. Professional growers may see harvests in as little as 25 days in summer or as long as 90 days in deep winter.
2. Site Selection and Soil Preparation
Choose a location that receives good sunlight and has ample air circulation, although komatsuna is tolerant of partial shade and can produce a good crop with just 3-4 hours of direct sun. It is adaptable to most soil types but will struggle in extremely heavy, waterlogged clay. It performs best in a soil with a pH of 6.0-6.5, but it is relatively tolerant of more acidic conditions, down to a pH of 5.5. To prevent the buildup of soil-borne pests and diseases specific to the brassica family, it is critical to practice crop rotation. Avoid planting komatsuna where you have recently grown cabbage, broccoli, or other brassicas for at least one to two years.
a. For Container Growing

Komatsuna thrives in containers. Select a standard planter that is at least 15-20cm deep and 65cm wide to give the roots adequate space. You can use a high-quality commercial potting mix formulated for vegetables or create your own blend. An effective homemade mix consists of:
- 7 parts red clay soil (akadama)
- 2 parts leaf mold
- 1 part vermiculite
b. For In-Ground Cultivation
Begin preparing your garden bed two weeks before you plan to sow. First, improve the soil’s structure and pH by incorporating about 2 kg of well-rotted compost and 100g of lime per square meter. One week before sowing, work in a base fertilizer. Komatsuna is a heavy feeder of nitrogen, so ensuring your soil is amended with compost and a nitrogen-rich fertilizer is key to vigorous growth. For professional growers on a new plot, a standard application rate is 1.5kg of nitrogen per 99 square meters.
3. Sowing Techniques
Direct sowing in the garden is the most common and effective method. It is best to use drill seeding, known as suji-maki, by creating shallow furrows 0.5-1cm deep. This method is superior to broadcasting seed because it creates orderly rows, which makes thinning, weeding, and harvesting much easier. Space your rows 15-20cm apart in a garden bed, or 10-15cm apart in a planter. Sow the seeds thinly, about 1cm apart within the furrows. Komatsuna seeds are photophilic, which means they require light to germinate, so it is crucial not to bury them too deeply. Cover them with just 5mm to 1cm of fine soil and gently press down to ensure good seed-to-soil contact. After sowing, water with a gentle spray so you don’t displace the seeds. A layer of non-woven fabric, or betagake, placed over the seedbed is an excellent technique to retain soil moisture, provide warmth, and protect the seeds from heavy rain.

### 4. Thinning for Healthy Growth

Thinning is a non-negotiable step for growing healthy komatsuna. Without it, the overcrowded seedlings will compete for light and resources, resulting in weak, spindly plants in a condition known as etiolation or leggy growth (徒長, tochou). The thinned seedlings are perfectly edible and make an excellent first harvest of baby greens.
- First Thinning: Perform this step once the cotyledons—the first two embryonic leaves—have fully unfurled. Thin the seedlings so they are spaced about 3cm apart, removing the smallest and weakest ones.
- Second (Final) Thinning: This is done when the plants have developed 3-4 true leaves and are about 6-7cm tall. The final spacing depends on your desired harvest size: thin to 5-10cm for smaller plants, 12-18cm for standard mature plants, or up to 30cm for very large plants.
When thinning, if the roots of adjacent seedlings are entangled, do not pull. Instead, use a small pair of scissors to snip the unwanted seedling off at the soil line. This prevents disturbing the delicate root system of the plant you want to keep.

### 5. Watering, Fertilizing, and Ongoing Care
a. Watering
From the day you sow until the seeds germinate, the soil must be kept consistently moist. Once the plants are established, you can allow the soil surface to become dry before watering again. For containers, water thoroughly until you see it drain from the bottom holes. This ensures the entire root zone is hydrated. The key is to avoid keeping the soil constantly saturated, as this deprives the roots of oxygen and can lead to root rot.
b. Fertilizing (Top-Dressing)
For fast-growing spring and summer crops, the initial base fertilizer may be sufficient. However, if you notice the leaves turning pale yellow or growth seems sluggish, it is time for a top-dressing of fertilizer (追肥, tsuihi). The best time to do this is right after the second thinning. For plants in containers, apply about 3-5g of a balanced fertilizer around the base of each plant, being careful not to let the granules touch the stem. For in-ground beds, apply about 30g per square meter in the rows. After applying the fertilizer, gently mix it into the top layer of soil and then mound some soil up around the base of the plants. This practice, called tsuchiyose, helps stabilize the growing plants. Be cautious with fertilizer; too much can lead to an unpleasantly acrid flavor known as egumi.
c. Succession Planting
To enjoy a continuous harvest of komatsuna throughout the season, practice succession planting. Simply sow a new small batch of seeds every 3 to 4 weeks. This staggered approach ensures you will always have plants reaching maturity.
6. Special Seasonal Management for Greenhouse Cultivation
a. Summer Management
In a greenhouse, summer heat can cause soil to dry out quickly and stress plants. Proper ventilation is critical; keep the sides of the greenhouse open to encourage airflow. To help lower soil temperature, a low-shading-rate cover can be placed over the greenhouse. While watering is important, be aware that excessive watering in high heat can cause leggy growth. Cease watering approximately 7 days before you plan to harvest.
b. Winter Management & Kan-jime Technique
To protect winter crops, use low vinyl tunnels or non-woven fabric covers inside the greenhouse. The primary goal is to maintain the temperature above 5°C until the plants have at least 4 true leaves, protecting them from cold shock. A fascinating Japanese technique called Kan-jime (寒じめ) can be used to dramatically improve the taste and nutritional content of winter komatsuna. Once the plants have reached a harvestable size, intentionally expose them to the cold by opening the greenhouse vents. The goal is to manage the temperature so that the 10-day average before harvest is 2°C or lower. This controlled cold stress triggers the plant to produce more sugars and Vitamin C as a protective measure, resulting in a sweeter, more valuable crop.
III. Pest and Disease Management
1. Common Pests
Like its cabbage-family relatives, komatsuna is susceptible to several common pests, including flea beetles, aphids (アブラムシ, aburamushi), cabbage white caterpillars (アオムシ, aomushi), leaf miners (ハモグリバエ, hamoguribae), and slugs or snails.

### 2. Pest Prevention and Control
The single most effective strategy for pest control is prevention through physical barriers. From the moment you sow your seeds, cover the bed or container with a floating row cover or fine insect netting (0.8-1mm mesh). This physically blocks pests from ever laying eggs on your plants. Before covering, ensure your soil is pest-free; in summer, soil solarization—watering the soil and covering it with clear plastic for several weeks—can be very effective. If pests do appear, inspect leaves regularly and remove any eggs or insects by hand. For caterpillar infestations, an organic spray containing Bacillus thuringiensis (Bt) is effective. Slugs and snails can be controlled with iron phosphate pellets.
3. Common Diseases
Common diseases that can affect komatsuna include white rust (白さび病, shirosabibyou), Fusarium yellows (萎黄病, ioubyou), mosaic virus, anthracnose (炭疽病, tansobyou), and damping-off (立枯病, tachigarebyou) in seedlings.
4. Disease Prevention and Control
Good cultural practices are the best defense against disease. Most fungal and bacterial diseases thrive in damp, stagnant conditions. Ensure proper spacing and thinning to promote good air circulation around each plant. Avoid overwatering and make sure your soil has good drainage. Always practice crop rotation to prevent the buildup of pathogens like Fusarium in the soil. Furthermore, an over-application of nitrogen fertilizer can make plants more susceptible to white rust and anthracnose, so feed your plants responsibly. If you spot an infected plant, remove and destroy it immediately to stop the disease from spreading. After your final harvest, clear all crop residue from the field. Decomposing leaves can harbor pathogens and provide a site for aphids to lay overwintering eggs.
IV. Harvesting and Storing Komatsuna

### 1. When to Harvest
Komatsuna grows very quickly, and the window for a perfect harvest can be brief. The ideal time to harvest is when the plants reach a height of 20-25cm (8-10 inches). In warm weather, the plants can go from perfect to past-prime in just 2-3 days. Harvesting too late will result in leaves that are tough, fibrous, and have a diminished flavor.

### 2. Harvesting Methods
You have three excellent options for harvesting your komatsuna crop:
- Whole Plant Harvest: The simplest method is to grasp the plant at its base and pull the entire thing from the soil. Alternatively, you can use a sharp knife or scissors to cut the plant off at the root crown, just above soil level.
- Cut-and-Come-Again: To extend your harvest from a single planting, you can treat it as a cut-and-come-again green. Simply pick the larger, outer leaves as you need them, leaving the central growing point intact to produce new leaves.
- Re-Sprouting: For a true second crop, harvest the entire head by cutting it about 2cm above the ground. The remaining base will re-sprout a new flush of leaves, allowing for at least one more full harvest before you need to re-sow.
3. Post-Harvest Handling and Storage
To ensure the best quality, harvest during the coolest part of the day in summer. After harvesting, brush the soil from the roots and remove any yellowed or damaged lower leaves. For storage, place the clean komatsuna in a paper bag and keep it in a cool place, where it will last for 2-4 days. Be mindful of temperature; if komatsuna gets too cold during storage, the cell walls can be damaged, causing the leaves to wilt immediately upon warming up.
V. Alternative and Advanced Growing Methods
1. Hydroponic Cultivation
Komatsuna adapts exceptionally well to soilless cultivation. To grow it hydroponically from seed, start by soaking a sponge medium in water and placing it in a tray. Sow the seeds directly into the slits of the sponge. Keep the tray in a spot with indirect light until the seeds germinate, then move it to a sunny location. Once roots begin to develop through the sponge, transfer the entire plug to a hydroponic vessel filled with a liquid fertilizer solution. This solution should be changed out weekly to replenish nutrients. You can expect to harvest in about 30 days.
2. Regenerative Cultivation (Ribobeji)
You can easily re-grow komatsuna from the base of a bunch you’ve purchased from a store. This process is known in Japan as Ribobeji (リボベジ), short for “reborn vegetable.” Simply cut the base of the bunch, leaving about 2-3cm of the root end intact. Place this base in a shallow container with enough water to submerge the root portion. Change this water daily to keep it fresh and prevent rotting. Within a few days, new roots and leaves will begin to appear. Once this new growth is established, you can add a small amount of liquid fertilizer to the water to promote a more vigorous harvest.


## VI. Frequently Asked Questions (FAQ) about Komatsuna
What does komatsuna taste like?Komatsuna has a wonderfully mild flavor that is a cross between mustard and cabbage, but it is more tender and has a gentler taste than either mizuna or pak choi. Its young leaves are delicate enough to be eaten raw in salads, while the mature leaves develop a robust texture perfect for cooking. How quickly can I harvest komatsuna?It is a very fast-growing vegetable. In the optimal heat of summer, it can be ready to harvest in as little as 25 to 30 days from when you sowed the seed. The growth cycle is longer in cooler weather, taking around 50 to 70 days in the autumn. Can I grow komatsuna in containers?Yes, komatsuna is an excellent choice for container gardening. Use a standard planter that is at least 15-20cm deep to provide enough room for the root system. A high-quality commercial potting mix designed for vegetables will provide the nutrients and drainage it needs to thrive.

Is komatsuna a cut-and-come-again vegetable?It can be harvested in several ways, including as a cut-and-come-again green. You can extend your harvest by picking only the mature outer leaves as needed, leaving the center to continue producing. Alternatively, you can cut the entire plant about 2cm above the soil line, and it will typically re-sprout for at least one more full harvest. Can komatsuna survive a frost?Absolutely. It is an incredibly cold-hardy green that easily tolerates frost. In fact, exposure to freezing temperatures acts as a catalyst, converting the plant’s starches into sugars and making the leaves taste significantly sweeter. Why are my komatsuna seedlings so tall and thin?This condition is known as “leggy growth” or tochou, and it is a classic sign of overcrowding. The seedlings are stretching upwards in a desperate competition for light. The solution is to thin them out to their proper spacing, which will give the remaining plants the room and light they need to grow strong and stocky. What is the best way to prevent pests on komatsuna?The most effective and reliable method is to use physical barriers. The moment you sow your seeds, cover the garden bed or container with a floating row cover or a fine-mesh insect netting (0.8-1mm mesh). This simple act prevents pests like flea beetles and the moths of cabbage worms from ever reaching the plants to lay their eggs.
Comments (0)
No comments yet. Be the first to share your thoughts.