 Skip to content
How to Make Plantable Seed Paper
Plantable seed paper is a rewarding craft that merges the art of papermaking with the fundamentals of gardening. This guide
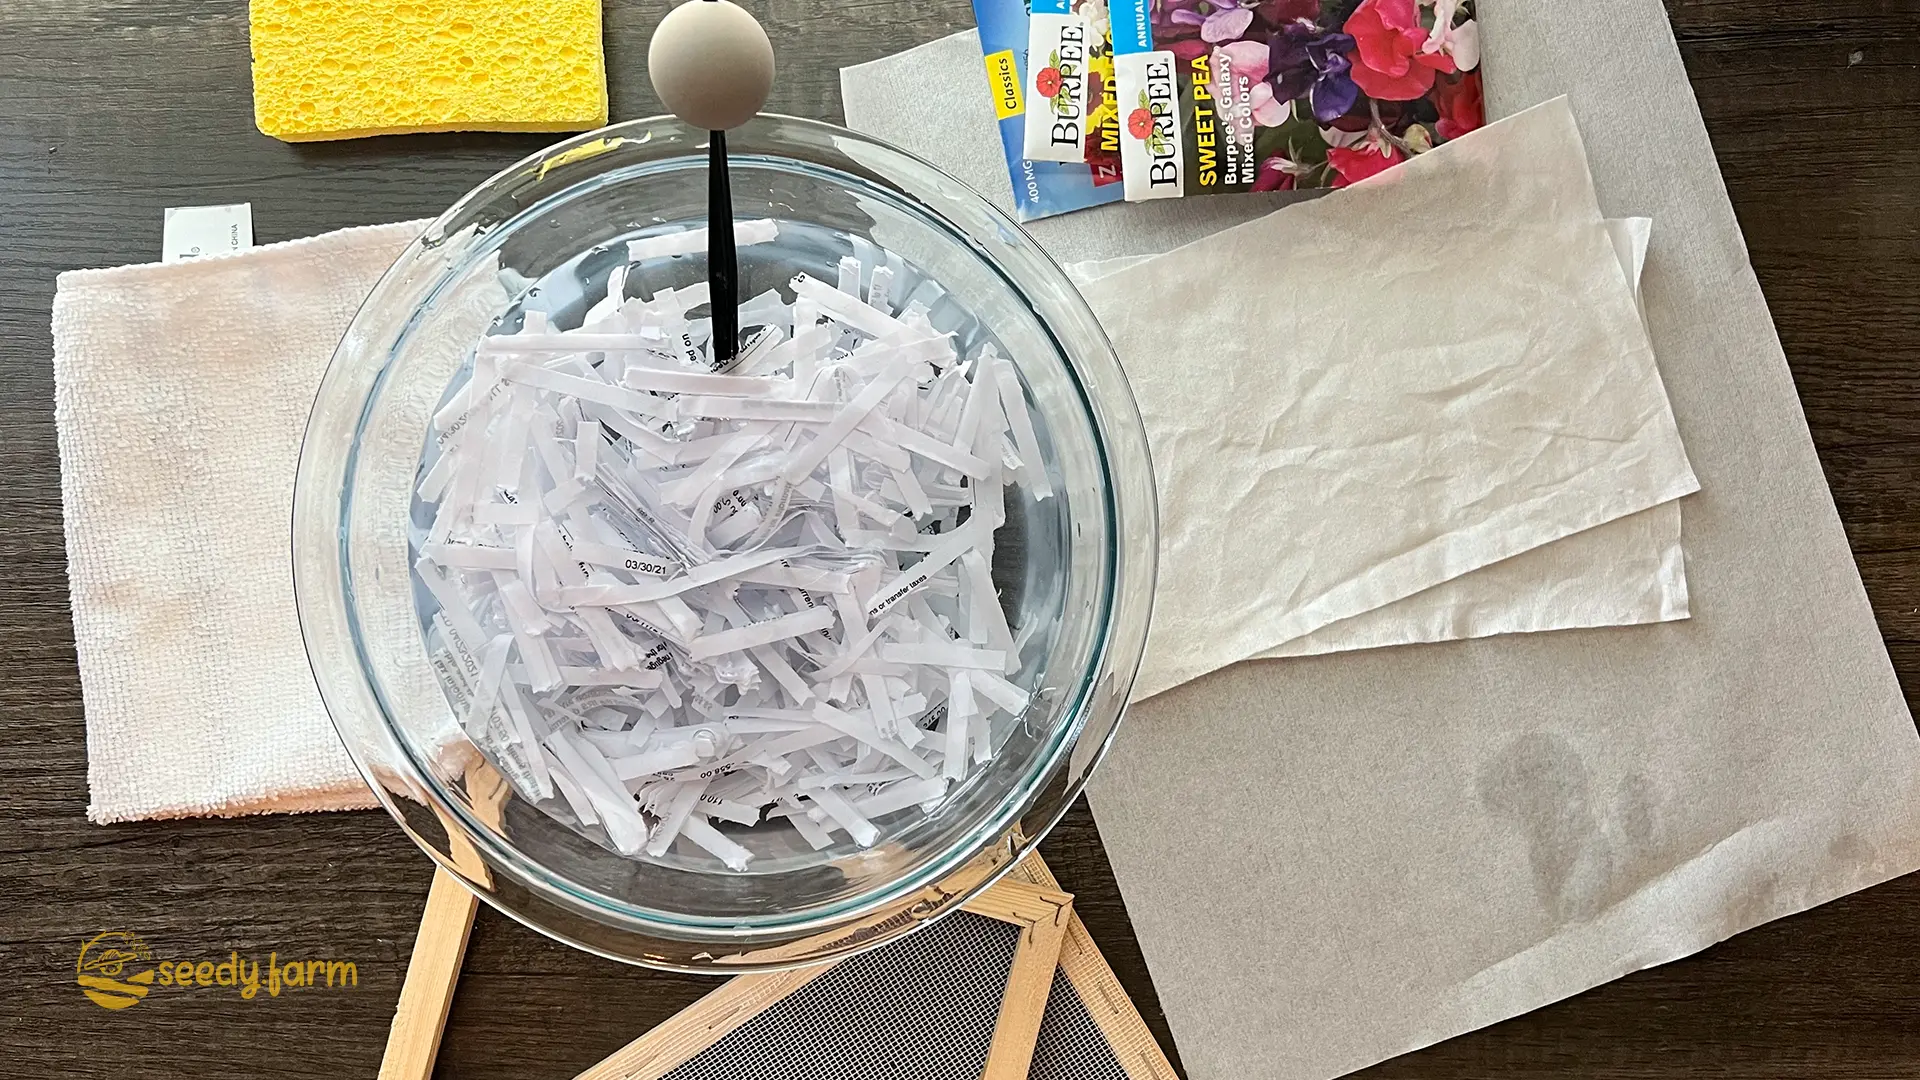
Plantable seed paper is a rewarding craft that merges the art of papermaking with the fundamentals of gardening. This guide provides a thorough, practical approach to creating your own seed paper. We will move beyond simple steps to explore the horticultural science involved, ensuring your finished paper is not only beautiful but also has the best possible chance of growing. This process transforms recycled paper into a biodegradable carrier for seeds, creating a unique and personal way to share plants.
I. Materials and Preparation
1. Gather materials
A successful project begins with the right components. Thoughtful selection of paper and seeds is critical for the final outcome.
- Recycled Paper: The best options are uncoated, non-glossy papers like newspaper, office paper, paper bags, or cardboard egg cartons. These papers are composed of untreated cellulose fibers that break down easily into a pulp and decompose readily in soil. Avoid glossy magazine pages or thermal paper, as their coatings and chemicals can impede water absorption and may inhibit seed germination.
- Seeds: Choose seeds that are small, relatively flat, and known for easy germination.
- Blender or Food Processor: A sturdy blender is necessary to break down the paper fibers into a smooth pulp, technically known as a slurry.
- Papermaking Frame (Mould and Deckle): This two-part frame, with one part having a screen, is used to form the paper sheets. You can purchase one or construct a simple version using two identical picture frames and a piece of window screen.
- Pressing Materials: Sponges, absorbent cloths, or felt sheets are essential for removing excess water.
- Large Basin or Tub: This will hold the water and pulp slurry for forming the sheets.
- Water: Necessary for creating the pulp and forming the paper.

#### a. Choosing the right seeds
Select seeds based on their physical characteristics and germination requirements. Small seeds like those of wildflowers (alyssum, poppies), herbs (basil, thyme), or greens (lettuce, cress) embed well within the thin paper layers. Large, bulky seeds like beans or corn are unsuitable as they create lumpy, fragile paper. Consider using a mix of native wildflowers appropriate for your region to support local pollinators. Always start with fresh, viable seeds from a reputable supplier, as seed viability decreases over time.

### 2. Prepare the workspace
a. Set up a water-resistant surface
Papermaking is a wet process. Protect your work area with a waterproof tablecloth or work outdoors. Proximity to a water source will simplify the process and cleanup.
b. Arrange tools and materials
Organize your station for a logical workflow. Have the basin, blender, and mould and deckle in one area, with a separate, drier space for pressing and laying out the finished sheets. Fill your basin halfway with water to start.
II. Creating the Paper Pulp
1. Shred and soak paper
a. Tear paper into small pieces
Reduce your paper to small, manageable squares, roughly 1-2 inches in size. This increases the surface area exposed to water, accelerating the fiber-softening process.
b. Soak in warm water
Submerge the paper pieces in a bowl of warm water. Soaking is not just about getting the paper wet; it’s about allowing water to penetrate and swell the cellulose fibers, which is the key to creating a smooth pulp. Allow the paper to soak for at least a few hours; an overnight soak is ideal for thorough saturation.

### 2. Blend the pulp
a. Process soaked paper in blender
Transfer a handful of the soaked paper and some of its soaking water into the blender. Blend in short bursts, adding more water as needed, until you achieve a homogenous slurry with no visible paper chunks. The ideal texture is that of a thin smoothie or pourable oatmeal.

#### b. Adjust consistency with water
Pour the blended pulp into your large basin. Continue blending the remaining paper in batches, adding each to the basin. Adjust the final slurry by adding more water if it is too thick to work with or more pulp if it is too thin. A good consistency is crucial for forming even sheets.
III. Forming and Seeding the Paper
1. Incorporate the seeds
There are two primary methods for adding seeds. The choice affects the final look and seed distribution.
- Method A (Mixed-in): Gently stir your seeds directly into the pulp slurry in the basin. Do this just before you begin forming sheets. This is the most common and efficient method, resulting in seeds being randomly distributed throughout the paper’s thickness. Take care not to over-mix, which could damage the seeds.
- Method B (Layered): This technique, outlined in the following steps, sandwiches seeds between two thin layers of pulp. It offers more control over seed placement but is more labor-intensive.
2. Form the paper sheets
a. Pour and spread pulp for the first layer
Hold the mould and deckle together firmly and dip it into the pulp slurry at an angle. Level it out under the surface and lift straight up, capturing an even layer of pulp on the screen. Let the water drain for a moment. This process creates your initial sheet of paper.
b. Sprinkle seeds onto the pulp sheet
If using the layering method, carefully place the screen (with the wet pulp sheet on it) onto a towel. Evenly sprinkle your seeds across the wet pulp. Be mindful of density; too many seeds in one area will lead to intense competition between seedlings, where none may thrive.

#### c. Add the second layer
To create the top layer for the seed sandwich, you can either pour a very thin layer of pulp carefully over the seeds or form another thin sheet with your mould and deckle and gently place it on top.

### 3. Press and dry the paper
a. Remove excess moisture
This step is critical. Place a piece of absorbent cloth or felt over the newly formed sheet and use a sponge to press down firmly and evenly. This action, known as “couching,” serves two purposes: it wicks away a significant amount of water and presses the cellulose fibers together, forming strong bonds that give the paper its integrity.

#### b. Air dry completely
Carefully transfer the pressed sheet to a dry, flat surface. Air drying is the preferred method, as high heat can damage or kill the seeds, rendering them non-viable. Depending on humidity and thickness, drying may take 24-48 hours. Proper drying is essential to prevent mold, which can occur if the paper remains damp.
V. Finishing and Using
1. Complete the paper
a. Trim or shape as desired
Once bone dry, the paper will be stiff. You can now cut it with scissors or use craft punches to create specific shapes. Consider the seed placement when cutting to avoid slicing through them. The trimmings can be used as eco-friendly confetti.
b. Decorate if wanted (optional)
If you wish to write on or decorate the paper, use only non-toxic, biodegradable inks or paints to ensure the planted paper is safe for the soil environment. Stamping with a simple, bold design can also be effective.
2. Plant and grow
a. Store in a cool, dry place until use
To preserve seed viability, store your finished paper in a cool, dark, and dry location. Exposure to humidity and warmth can trigger premature germination or encourage mold. Properly stored, most seeds should remain viable for about a year.
b. Plant in soil and water to start growth
When ready to plant, place the seed paper on the surface of prepared soil in a pot or garden bed. Cover it with a very thin layer of soil, about 1/8 to 1/4 of an inch (3-6 mm). Water gently but thoroughly. The key to germination is to keep the paper and surrounding soil consistently moist until sprouts appear, which can take 7-21 days depending on the seeds and conditions. Ensure the location receives adequate sunlight for the chosen plant varieties.
VI. Tips and Troubleshooting
1. Common issues and solutions
a. Paper too thick or thin
Symptom: The final paper is either too chunky and stiff or too fragile. Cause: The amount of pulp slurry used per sheet was incorrect. Solution: If too thick, use less pulp or dilute the slurry with more water. If too thin and fragile, increase the amount of pulp you pick up with your mould and deckle.
b. Seeds not germinating
Symptom: After proper planting and care, no seedlings emerge. Cause: This could be due to several factors: non-viable seeds (too old), damage from overheating during drying, planting too deep, or inconsistent watering. Solution: Always use fresh seeds. Dry the paper naturally without heat. Ensure the paper is covered with only a fine layer of soil and kept consistently moist until germination.
2. Variations and creative ideas
a. Colored paper
Incorporate natural, plant-safe color into your pulp. You can add a small amount of natural food coloring or, for a more rustic look, create your own dyes by steeping materials like onion skins (for yellow/orange), avocado pits (for pink), or spinach (for green). Always use biodegradable colorants.

#### b. Shaped paper
Instead of making large sheets, you can form the pulp inside cookie cutters placed on your screen. This allows for creating specific shapes like hearts or stars directly, minimizing waste from trimming. Press the pulp firmly into the shape and remove excess water before drying.
Comments (4)
I had a question of how do u know if seeds are old my seeds I harvested last year, poppies and succulents , all in small containers in cool dry place. I also have lettuce seeds from the store in paper packets , will they be ok.? And last I had a bunch of bouquets of dried lavender I ended up with a bag full
of it’s droppings are these seeds?
Thank you for your question! Let me break it down into parts to address everything clearly:
How to Tell if Seeds Are Old
Seeds can remain viable for varying lengths of time depending on the type of plant and how they are stored. To test if your seeds are still good, you can perform a simple germination test:
Place a few seeds on a damp paper towel, fold it over the seeds, and keep it in a warm place (like on top of your refrigerator).
Keep the towel moist but not soggy.
Check for sprouts within the time frame typical for the type of seed (e.g., poppies may take 7–14 days). If most of them sprout, the seeds are still viable!
Poppies and Succulent Seeds from Last Year
Poppy seeds, when stored in a cool, dry, and dark place, can last several years. Succulent seeds might be more finicky, but your storage conditions sound good. A germination test will confirm their viability.
Lettuce Seeds in Paper Packets
Lettuce seeds are generally good for 2–5 years if kept in their original packets in a cool, dry place. Since you’ve stored them properly, they should be fine to use.
Lavender Droppings
It’s possible that the “droppings” from your dried lavender bouquets are seeds, but they might also include chaff (the tiny, non-seed parts). To identify lavender seeds:
Look for tiny, smooth, brown to black oval seeds about 1–2 mm long.
You can separate the seeds by rubbing the material gently in your hand or using a fine sieve.
Test a small batch to confirm they sprout before using them for planting.
I hope this helps! Let me know if you have more questions or need clarification. 😊
What keeps the seeds you put between the wet paper layers from starting the germination process or degrading because of the moisture? Thank you for your great instructions!
That’s a great question – thanks for asking! It definitely makes sense to wonder if the seeds will sprout while sitting in the wet pulp. Here’s what prevents that during the papermaking steps:
Water is Removed Quickly: The process involves pressing out excess water and then thoroughly drying the paper. Seeds need consistent moisture to germinate, and that condition isn’t met because the paper dries out relatively fast.
Exposure Time is Short: The seeds are only in the very wet pulp for a limited time before the drying begins. This brief period usually isn’t enough to fully trigger germination.
Dormancy Holds Strong: Seeds are naturally designed to wait for sustained moisture and the right temperature. A short soak typically isn’t enough to break their dormancy.
The key is the drying phase – it halts any potential germination and keeps the seeds dormant within the paper until they’re actually planted in soil and watered consistently.